Create the Move Smart Contract
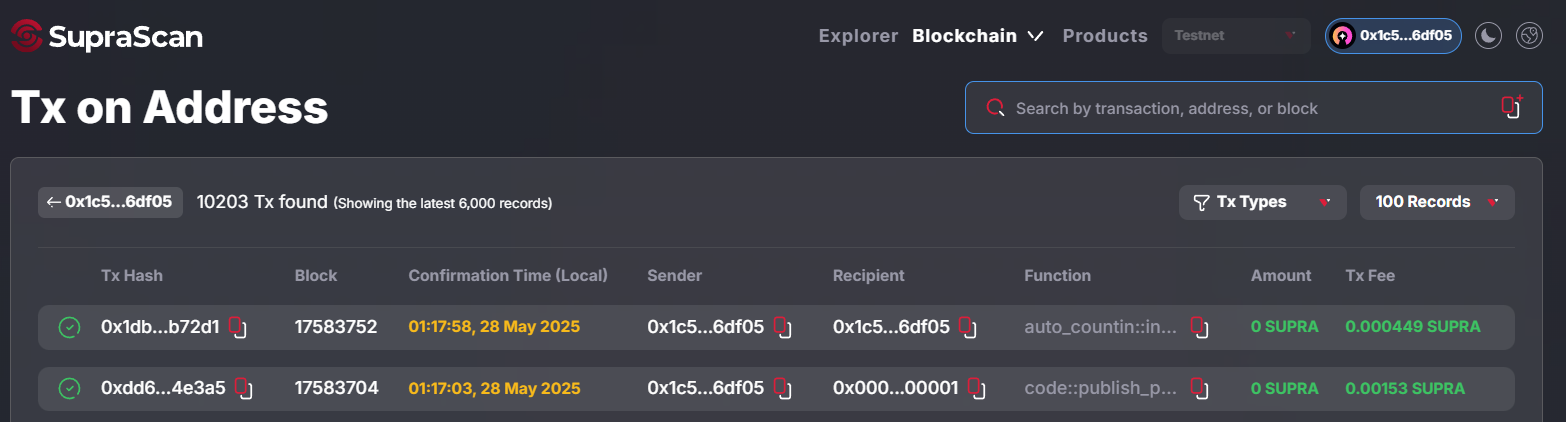
For this guide we’ll create an automation contract that will increment a default value with each automated transaction once the automaton task gets started. We can then use the view function and/or SupraScan to see the updated value, old value, timestamp, and total increments.
Best Practice for Gas Optimization:
If you’re using AutoFi’s trade contracts (limit orders, DCA, etc.) then:
- Initialize storage in init_module (runs once at deployment)
- Do NOT initialize storage inside your automation task function (runs repeatedly)
- This pattern minimises gas by avoiding storage creation and you can save automation the fee.
- Storage creation is required only once hence Performing it in the init module or a dedicated setup function.
- Handling storage creation within the automation function would require a high gas limit, which is unnecessary for a one-time operation. Hence, this approach is more efficient.
Example:
// Storage created once
fun init_module(account: &signer) { move_to(account, Counter { value: 0, ... }); }

// Task only operates on existing storage
public entry fun auto_increment(account: &signer) acquires Counter { let counter = borrow_global_mut(account_addr); counter.value = counter.value + 1; }
Initialize your move package
Create a new Move package
execute me!
supra move tool init --package-dir /supra/move_workspace/autofi --name autofiThis will create your project directory automatically, including a Move.toml file. This is a manifest file that contains important metadata about your package. This includes the package name, version, dependencies, named addresses, and more.
The SupraFramework dependency is automatically populated. This framework includes core components that you will interact with during your time on Supra. The framework package includes clearly defined documentation within the /doc directory for you to review alongside the Move code within the /sources directory. You can view this package here .
move.toml
[package]
name = "autofi"
version = "1.0.0"
authors = []

[addresses]

[dev-addresses]

[dependencies.SupraFramework]
git = "https://github.com/Entropy-Foundation/aptos-core.git"
rev = "dev"
subdir = "aptos-move/framework/supra-framework"

[dev-dependencies]
Update the named addresses
Open the move.toml file with your code editor. You can find these files on your host machine in the /supra/move_workspace/autofi directory.
For now, add the below named address to your Move.toml file and set the value to your address.
supra profile -l[addresses]
exampleAddress ="YOUR-ADDRESS-HERE"Named addresses allow identifiers such as @exampleAddress to be used throughout your package, rather than hard coding an address value. When compiled into bytecode, any occurrence of the identifier such as @exampleAddress will be replaced with the value set within the move.toml file.
Write & Publish Your Module
Create a Module Smart Contract (Module)
Open the move.toml file with your code editor and set the value to your address to the Profile address of your Supra CLI to Publish the Move Package. Know more about Writing and Publishing your first Move Package at the Get Started Page Here.
And, Within the sources directory of your package, create the autofi.move file.
autofi.move
module exampleAddress::auto_incr {
    use supra_framework::timestamp;
    use supra_framework::event;
    use supra_framework::account;
    use std::signer;
    use std::error;

    struct Counter has key {
        value: u64,
        last_increment_time: u64,
        total_increments: u64,
    }
    /// Event emitted when counter is incremented
    #[event]
    struct CounterIncremented has drop, store {
        old_value: u64,
        new_value: u64,
        timestamp: u64,
        total_increments: u64,
    }
    /// Error codes
    const E_COUNTER_NOT_INITIALIZED: u64 = 1;
    const E_TOO_EARLY_FOR_INCREMENT: u64 = 2;

    fun init_module(account: &signer) {
        let account_addr = signer::address_of(account);

        assert!(!exists<Counter>(account_addr), error::already_exists(E_COUNTER_NOT_INITIALIZED));
        let current_time = timestamp::now_seconds();

        move_to(account, Counter {
            value: 0,
            last_increment_time: current_time,
            total_increments: 0,
        });
    }
    public entry fun auto_increment(account: &signer) acquires Counter {
        let account_addr = signer::address_of(account);

        assert!(exists<Counter>(account_addr), error::not_found(E_COUNTER_NOT_INITIALIZED));

        let counter = borrow_global_mut<Counter>(account_addr);
        let current_time = timestamp::now_seconds();
        let old_value = counter.value;
        counter.value = counter.value + 1;
        counter.last_increment_time = current_time;
        counter.total_increments = counter.total_increments + 1;
        event::emit(CounterIncremented {
            old_value,
            new_value: counter.value,
            timestamp: current_time,
            total_increments: counter.total_increments,
        });
    }

    /// View function to get current counter value
    #[view]
    public fun get_counter_value(account_addr: address): u64 acquires Counter {
        assert!(exists<Counter>(account_addr), error::not_found(E_COUNTER_NOT_INITIALIZED));
        borrow_global<Counter>(account_addr).value
    }
    /// View function to get detailed counter info
    #[view]
    public fun get_counter_info(account_addr: address): (u64, u64, u64) acquires Counter {
        assert!(exists<Counter>(account_addr), error::not_found(E_COUNTER_NOT_INITIALIZED));
        let counter = borrow_global<Counter>(account_addr);
        (counter.value, counter.last_increment_time, counter.total_increments)
    }

    /// Manual increment function for testing (optional)
    public entry fun manual_increment(account: &signer) acquires Counter {
        auto_increment(account);
    }
    /// Reset counter (for testing purposes)
    public entry fun reset_counter(account: &signer) acquires Counter {
        let account_addr = signer::address_of(account);
        assert!(exists<Counter>(account_addr), error::not_found(E_COUNTER_NOT_INITIALIZED));

        let counter = borrow_global_mut<Counter>(account_addr);
        counter.value = 0;
        counter.last_increment_time = timestamp::now_seconds();
        counter.total_increments = 0;
    }

    // Test functions
    #[test_only]
    #[test(account = @0x123)]
    public entry fun test_counter_initialization(account: signer) acquires Counter {
        let account_addr = signer::address_of(&account);
        account::create_account_for_test(account_addr);
        // Initialize counter
        init_module(&account);
        // Check initial value
        assert!(get_counter_value(account_addr) == 0, 1);
        // Test increment
        manual_increment(&account);
        assert!(get_counter_value(account_addr) == 1, 2);
        // Test another increment
        manual_increment(&account);
        assert!(get_counter_value(account_addr) == 2, 3);
    }
}
Publish Your Move Package on Supra Network.
supra move tool publish \
--package-dir /supra/move_workspace/autofi \
--rpc-url https://rpc-testnet.supra.com
Use SupraScan to confirm it was deployed successfully.
You can use SupraScan to confirm your deployment.